
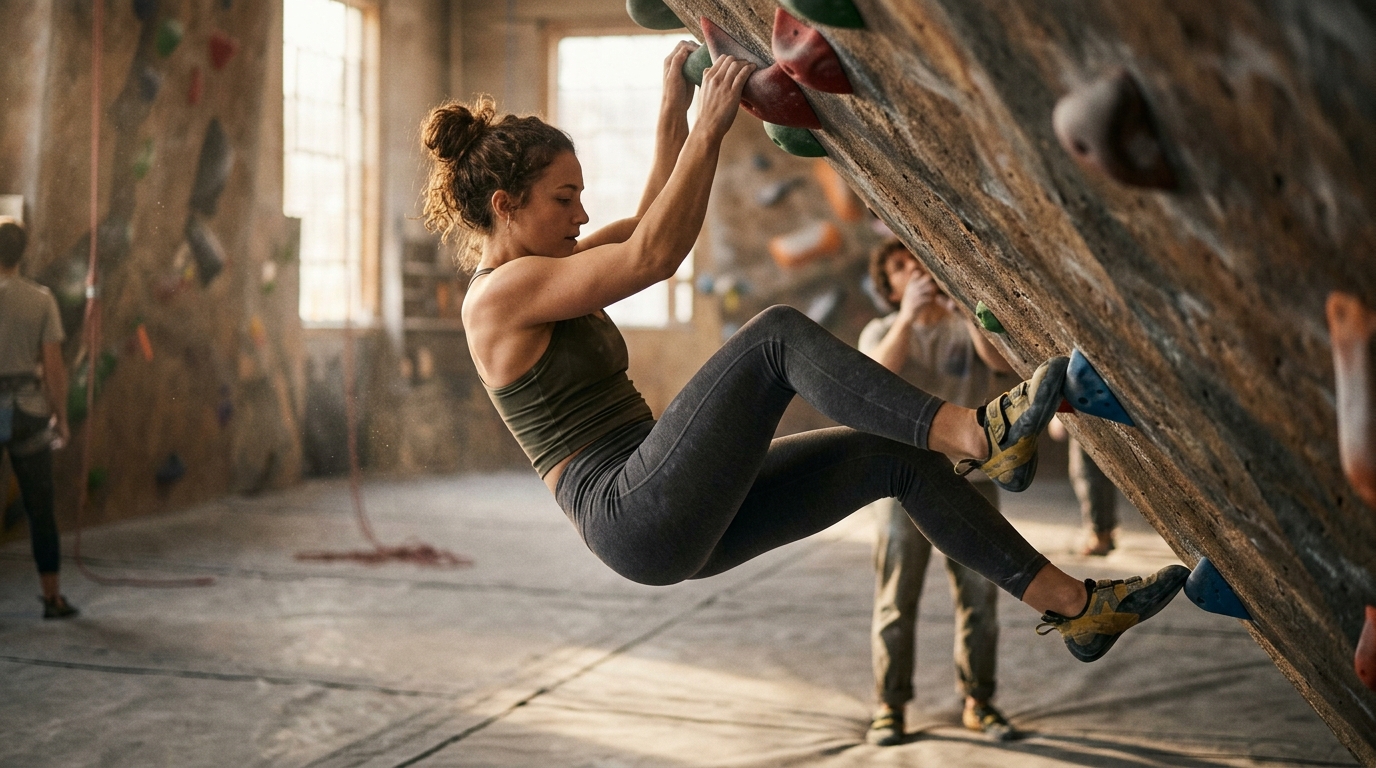
Strength matters in sport climbing, but technique multiplies it. Two skills determine whether you cruise through crux sequences or flame out mid-route: foot tension — actively gripping and pulling through your toes on steep terrain — and body positioning — arranging your hips, shoulders, and centre of gravity so every move costs less energy. This four-week programme gives you a structured path from awareness drills to advanced integration, all executable indoors at a gym or on a home wall.
Why Foot Tension and Body Positioning Matter
Many climbers assume body tension comes exclusively from core strength. In reality, tension is a coordination skill that connects your toes to your torso in a single kinetic chain. As climbing coach Neil Gresham explains, on steep overhangs you must tense your hamstrings, glutes, abs, and lower back together; if you treat your feet passively, they simply pop off.
Body positioning — knowing when to twist your hips, flag a leg, or shift your centre of gravity — determines how much of your leg strength you can actually use. Elite climbers like Margo Hayes and Janja Garnbret demonstrate feet that return to holds effortlessly with zero readjustment, a product of thousands of deliberate practice hours.
Before You Start: Equipment and Warm-Up
You will need:
- Well-fitting, moderately downturned climbing shoes (avoid sloppy gym shoes — tight-fitting rubber lets you feel edges and generate toe pull)
- Access to a bouldering wall with varied angles, ideally including a 25–40° overhanging section
- Optional: a Kilter Board, MoonBoard, or spray wall for Weeks 3–4
- Optional: TRX bands or gymnastic rings for off-wall supplementary work
Dedicate the first 15 minutes of each session to an active warm-up: easy traversing, light stretching, and a few sets of glute bridges and dead bugs to wake up the posterior chain.
Week 1 — Awareness and Precision
The goal this week is to rewire your attention so it flows to your feet first, hands second. Every drill uses climbs 2–3 grades below your flash level.
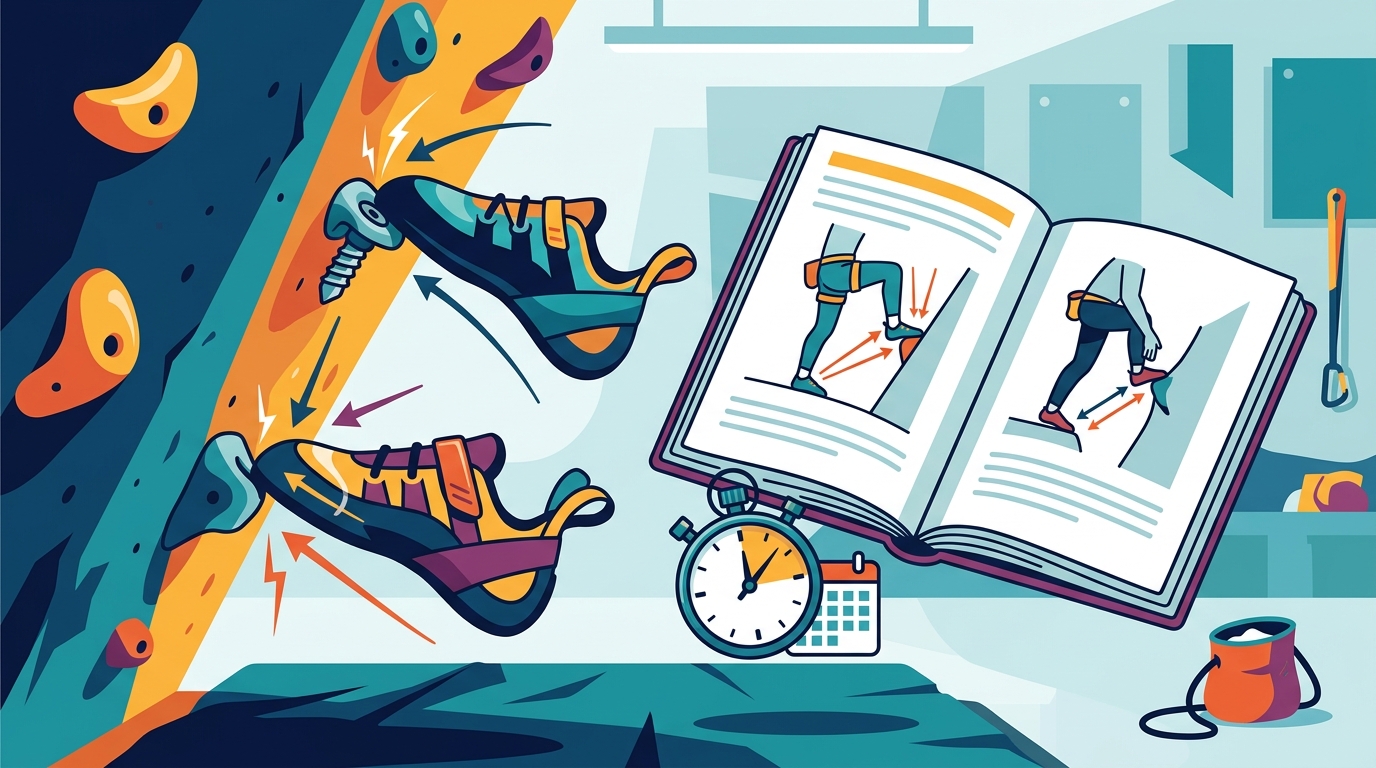
Drill 1: Coin Placement Challenge
Place small coins on 12–15 footholds across an easy traverse. Climb using only those footholds, and the rule is simple: if you knock a coin off, down-climb to the start and begin again. This forces extraordinarily precise foot placement from the first touch.
Drill 2: Three-Second Stare
Every time you move a foot, stare at the target foothold before, during, and for three full seconds after your shoe makes contact. Only then may you look away. This counteracts the natural tendency to glance upward before your foot has landed — a habit that leads to sloppy placements.
Drill 3: Straight-Arm Traversing
Traverse 20–30 hand moves with your arms completely straight. Keeping arms extended forces your weight onto your feet and teaches you to reposition your hips rather than pull with your biceps. If a move requires a lock-off, bend the arm only as long as strictly necessary, then re-straighten immediately.
Week 1 Session Template
| Day | Drill | Volume |
|---|---|---|
| Day 1 | Coin Placement + Three-Second Stare | 4 traverses each |
| Day 2 | Straight-Arm Traversing + Three-Second Stare | 5 traverses each |
| Day 3 | All three drills as warm-up, then free climbing | 3 traverses each |
Week 2 — Building Active Toe Engagement
This week shifts focus from where you place your foot to how hard you grip the hold with your toes. The distinction is crucial: passive placement works on vertical terrain, but on anything steeper your foot must actively pull inward.
Drill 4: Weight-Plate Toe Drags (Off-Wall)
On a smooth floor, wear your climbing shoes, toe into the edge of a light weight plate, and drag it toward you. Push it away and repeat. This movement pattern teaches the pull-through-the-toes action essential on steep walls. Perform 3 sets of 8 drags per foot.
Drill 5: Cat-to-Cow Tension Drill (On-Wall)
On a slightly overhanging wall, start with your right foot high and left foot low. Begin in a relaxed, rounded "cat" position — imagine a beach ball resting on your belly. Then actively pull into the wall until your shoulder approaches your hand, transitioning to a taut, engaged "cow" stance. Focus on driving tension from your toes up through your core. Hold each position for 8–10 seconds. Do 3 sets of 5 reps per side.
Drill 6: Low-Foot Slopey Traverse
Traverse back and forth on an overhanging wall using only low, slopey footholds while maintaining a fully extended body position. The key cue: imagine you are trying to rip each foothold off the wall with your toes. Keep your arms as straight as possible throughout. Aim for 3–4 laps of 15 hand moves.
Week 3 — Hip Orientation and Centre-of-Gravity Control
With improved foot awareness and toe engagement in place, it is time to layer on deliberate body positioning. This week focuses on hip placement and the art of keeping your centre of gravity exactly where it needs to be.
Drill 7: Hip-Tap Pivots
On every foothold, pivot your foot from inside edge to outside edge and back. Before you may move to the next hold, tap the wall with the hip that corresponds to the pivoting foot. This exaggerated movement teaches you to drive your hip into the wall, extending your reach and reducing arm load.
Drill 8: Triangle-to-Inverted-Triangle Transitions
While traversing on a vertical wall with plentiful holds, alternate between two shapes. First, create a triangle: one hand directly above your head, both feet slightly wider than your hips. Then shift to an inverted triangle: one foot centred below your body, two hands wider than your shoulders. Focus on the transitions between shapes — this is where efficient climbing movement lives.
Drill 9: Flagging Ladder
Choose a moderate overhang route and make every move a flagging move. Alternate between inside flag, outside flag, and back flag on consecutive moves. Forcing all three variations in sequence builds automatic recognition of which flag type best stabilises each unique body position.
Drill 10: Fixed-Hands Foot Explorer (Spray Wall)
Keep your hands locked on two holds on an overhanging spray wall or board. Without moving your hands, move your feet to at least 10 different footholds, incorporating inside edge, outside edge, heel hooks, and toe hooks. Try to stand on holds as far away as possible, really demanding body tension and foot pressure. Perform 3–5 sets.
Week 4 — Combining Tension and Positioning Under Fatigue
The final week integrates everything into scenarios that mimic real sport-climbing intensity. Fatigue degrades technique, so practicing under mild pump is where habits either stick or fall apart.
Drill 11: Intentional Cut-and-Reengage
On overhanging problems around your flash grade, deliberately cut both feet on every hand move, then quickly reposition them on the correct footholds before executing the next move. This drill teaches controlled cutting, rapid foot re-engagement, and the ability to accurately place feet under duress. Do 5–8 problems per session.
Drill 12: Down-Climb Everything
During your warm-up and cool-down, climb every problem or route both up and down. Downclimbing is a foot-first movement that forces you to think about foot placements and control your weight with your legs. Aim for zero foot noise on the descent.
Drill 13: Linked-Route Endurance Sets
Pick 3 routes that are 1–2 grades below onsight, and climb them back-to-back with no rest. On each route, enforce one rule from earlier weeks: Route 1 = sticky feet (no readjustments), Route 2 = three-second stare, Route 3 = straight arms. Stacking technique constraints on top of physical fatigue builds lasting motor patterns.
Drill 14: Target Practice on Project-Level Terrain
Choose a route near your redpoint limit. On toprope, climb the entire route with sustained focus on your feet. With each placement, identify the optimal spot on the hold, place your shoe precisely, then feel the kinesthetic feedback as you shift your weight onto it. Overall performance does not matter this session — footwork is the only objective.
Key Takeaways
- Foot tension is a coordination skill, not just a core-strength attribute. It requires actively pulling through the toes while linking the posterior chain from hamstrings to glutes to abs.
- Precision before power. Weeks 1–2 establish placement accuracy and toe engagement; Weeks 3–4 layer on body positioning and fatigue resistance.
- Use climbs well below your limit for drills. Technique sessions should be 2–3 grades under your flash level so cognitive bandwidth goes to movement quality, not survival.
- Practice during warm-ups. Integrating 20–30 minutes of drill work into your warm-up ensures consistent frequency without extending sessions.
- Downclimbing is underrated. It reverses your habitual movement pattern and highlights weaknesses in foot control and weight transfer.
- Transfer to steep terrain last. Only after drills feel natural on vertical walls should you migrate them to overhanging boards and project-level routes.
Frequently Asked Questions
How often should I practise these drills?
Two to three sessions per week is ideal. You can incorporate 20–30 minutes of drill work into your regular warm-up without adding session length. Consistent, shorter practice outperforms infrequent marathon sessions.
Do I need a spray wall or training board?
No. Most of the drills in Weeks 1–2 can be done on any gym bouldering wall. A Kilter Board or MoonBoard adds value in Weeks 3–4 because you can set specific problems that isolate body tension demands, but a standard overhanging wall works well too.
Will these drills help me on slab as well as overhangs?
Yes. Precision placement and weight transfer through the feet are even more critical on slab, where there is little to grip with your hands. The awareness drills in Week 1 translate directly to delicate slab footwork.
I am a beginner — should I do all four weeks?
Start with Weeks 1 and 2 and repeat them for a second cycle before advancing. The awareness and toe-engagement drills build the foundation; moving to advanced integration too quickly can be overwhelming and less productive.
What shoes should I wear for drill practice?
Wear your performance shoes, not loose gym shoes. A snug fit with good rand tension lets you feel edges accurately and develop the toe-curling strength that transfers to harder routes.
How do I know if my foot tension is improving?
Three signals: you stop cutting feet unexpectedly on steep problems, your climbing becomes noticeably quieter, and you can maintain contact with small footholds while making big reaches overhead.